- Home
- About Us
- Our Solutions
- Environmental Division
- Waterproofing Division
- Rocky Mountain Bio Products Division
- Bridge Division
- Our Services
- Industries
- Applications







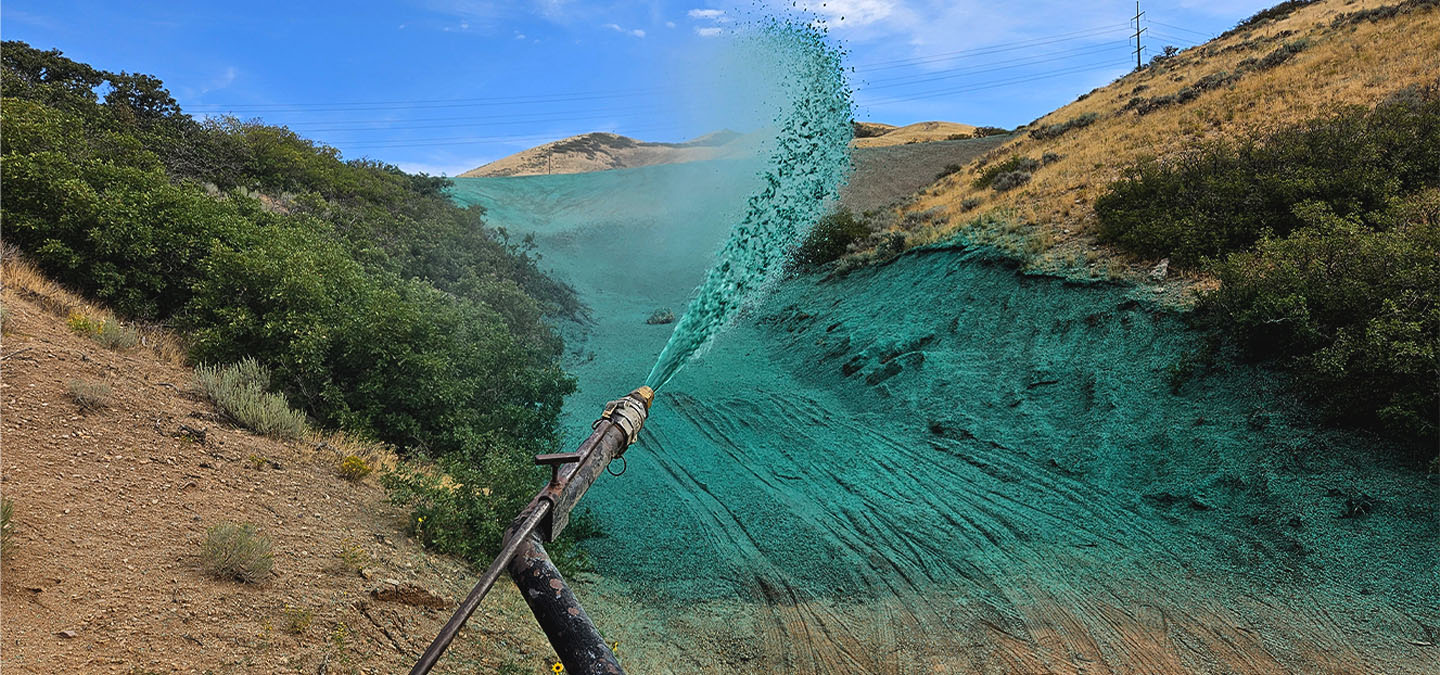
Most people think seeding a construction site is a single step: spreading seed over the soil. We’re here to tell you it’s much more than that! To achieve successful vegetation establishment, seeding is a coordinated process where each step plays an important role.
Why Is Fall One of the Best Times to Seed?
Fall is one of the best times for seeding because cooler temperatures, increased soil moisture, and reduced weed competition create ideal conditions for germination and strong root development. However, timing alone does not guarantee success. Site preparation, soil conditions, seed selection, erosion control, and ongoing watering are all key factors.
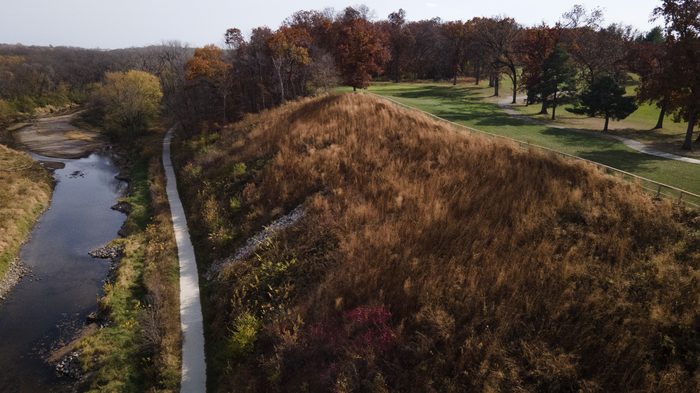
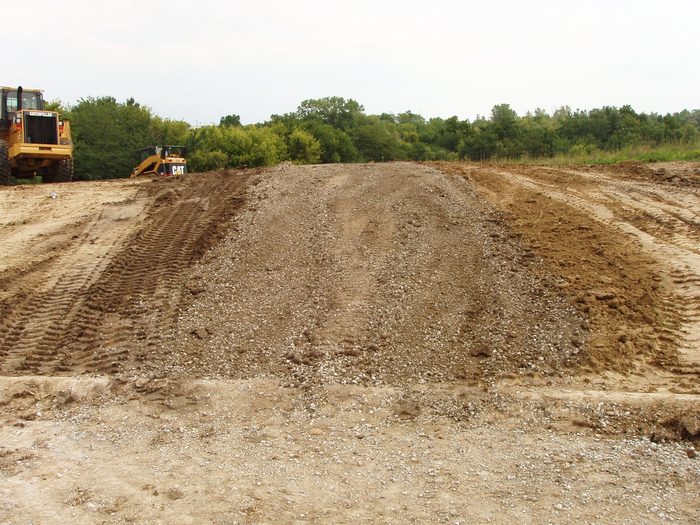
Step 1: Prepare the Site & Finish Grading
Install any necessary sediment control measures such as silt fence, wattles, or inlet protection to help keep loose soil from migrating into roads, storm drains, or surrounding areas. Next, complete final site contours. Proper finish grading helps direct drainage away from structures and prepares the area for the remaining seeding work. Rocks, construction debris, and other unsuitable materials should also be removed so the finished surface provides a stable foundation for vegetation establishment.
Step 2: Prepare the Seedbed
Prepare the seedbed by loosening the top few inches of soil, breaking apart clumps or compacted soil, and smoothing the surface. The goal is to create strong seed-to-soil contact. If seed sits on top of hard, compacted ground or becomes suspended in loose debris, it may not have sufficient contact with the soil to germinate and grow successfully.
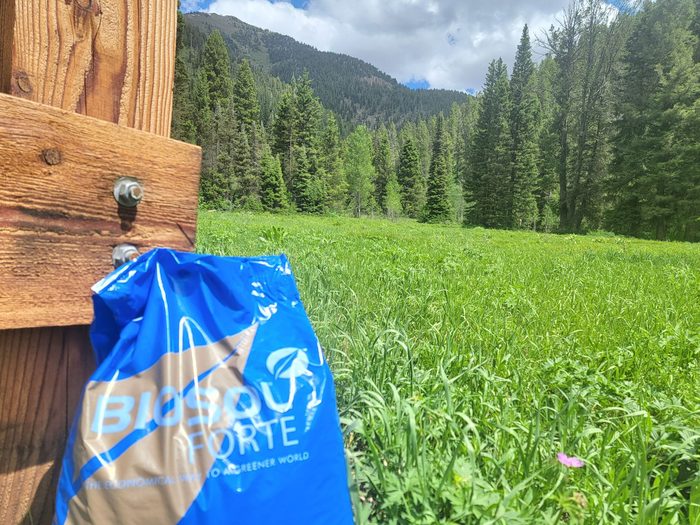
Step 3: Select & Apply Soil Amendments
Conduct soil testing to identify conditions that may limit plant growth. Because all soils and sites are different, testing helps determine whether the soil would benefit from fertilizer, compost, or another soil conditioner.
Applying amendments without understanding the soil may not address the factors affecting vegetation establishment. Choosing the appropriate soil amendments will help improve soil health, support vegetation establishment and promote long-term plant growth.
Step 4: Select & Apply the Seed
Apply the specified seed mix at the recommended seeding rate using the appropriate equipment, such as a hydroseeder, to ensure even distribution and coverage. Cool-season grasses establish best in late summer into early fall, but it’s important to select a seed mix that’s right for the site’s climate and the project goals.
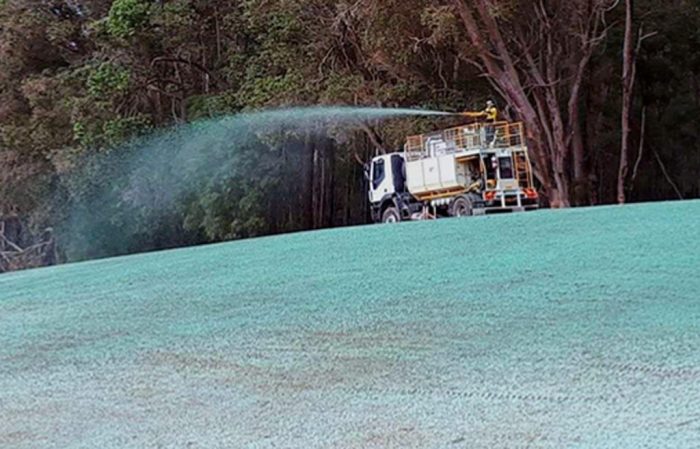
Note: Is more seed better? No. The seed should be installed at the specified or recommended rate. Applying more seed does not correct poor soil preparation and site conditions, incorrect timing, or inadequate watering. Consistent distribution and good seed-to-soil contact are more important than simply applying more seed.
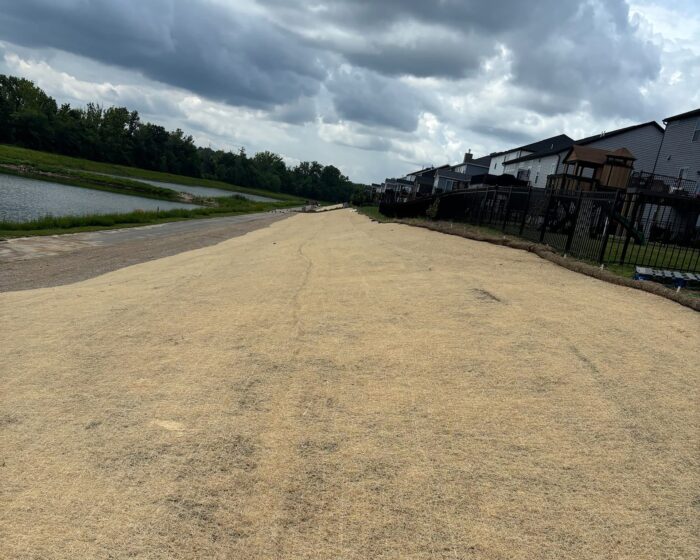
Step 5: Install Erosion Control
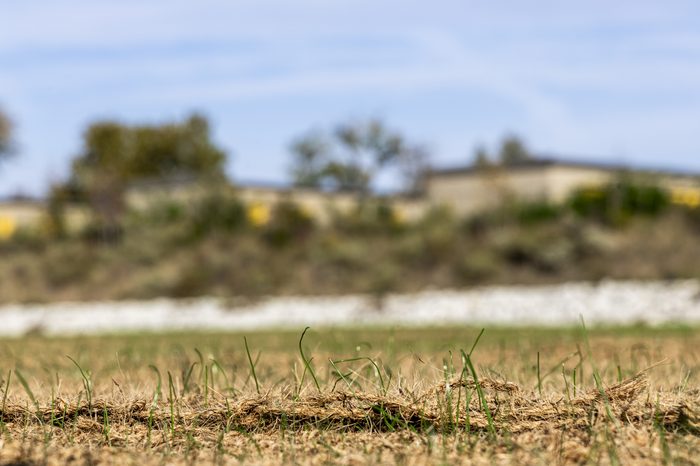
Install appropriate erosion control solutions, such as erosion control blankets (ECBs) and wattles, after seeding to help keep soil and seed in place while vegetation establishment begins. When specified, ECBs should be installed directly over the seeded soil. The blanket helps lock moisture in the soil and protects seed from being displaced by heavy wind, rainfall or concentrated runoff.
Step 6: Follow a Watering Plan
Lightly water the seeded area to moisten the soil without creating runoff. For better success rates, projects should include a plan that outlines how watering will be maintained after installation. Seed needs continued moisture while it germinates and becomes established. One watering may not be enough for successful vegetation establishment.
Why is a seeding process needed?
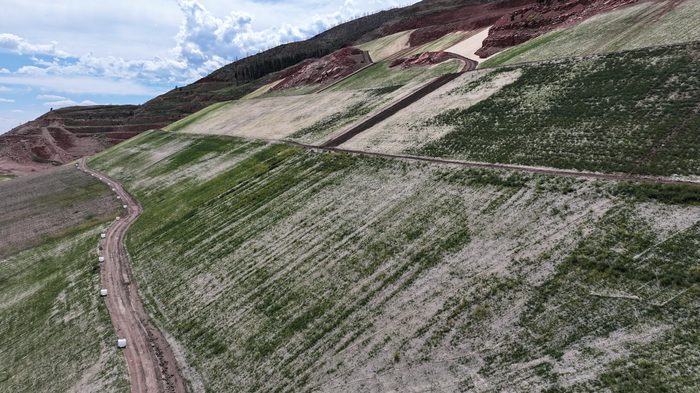
Successful fall seeding is not achieved by seed alone. It depends on preparing the site, creating a suitable seedbed, understanding the soil, choosing the appropriate seed mix, protecting the installation, and providing continued moisture. If one of these components is overlooked, the site may experience uneven germination, erosion, seed loss, poor root development, or incomplete vegetation establishment.
September 16, 2026
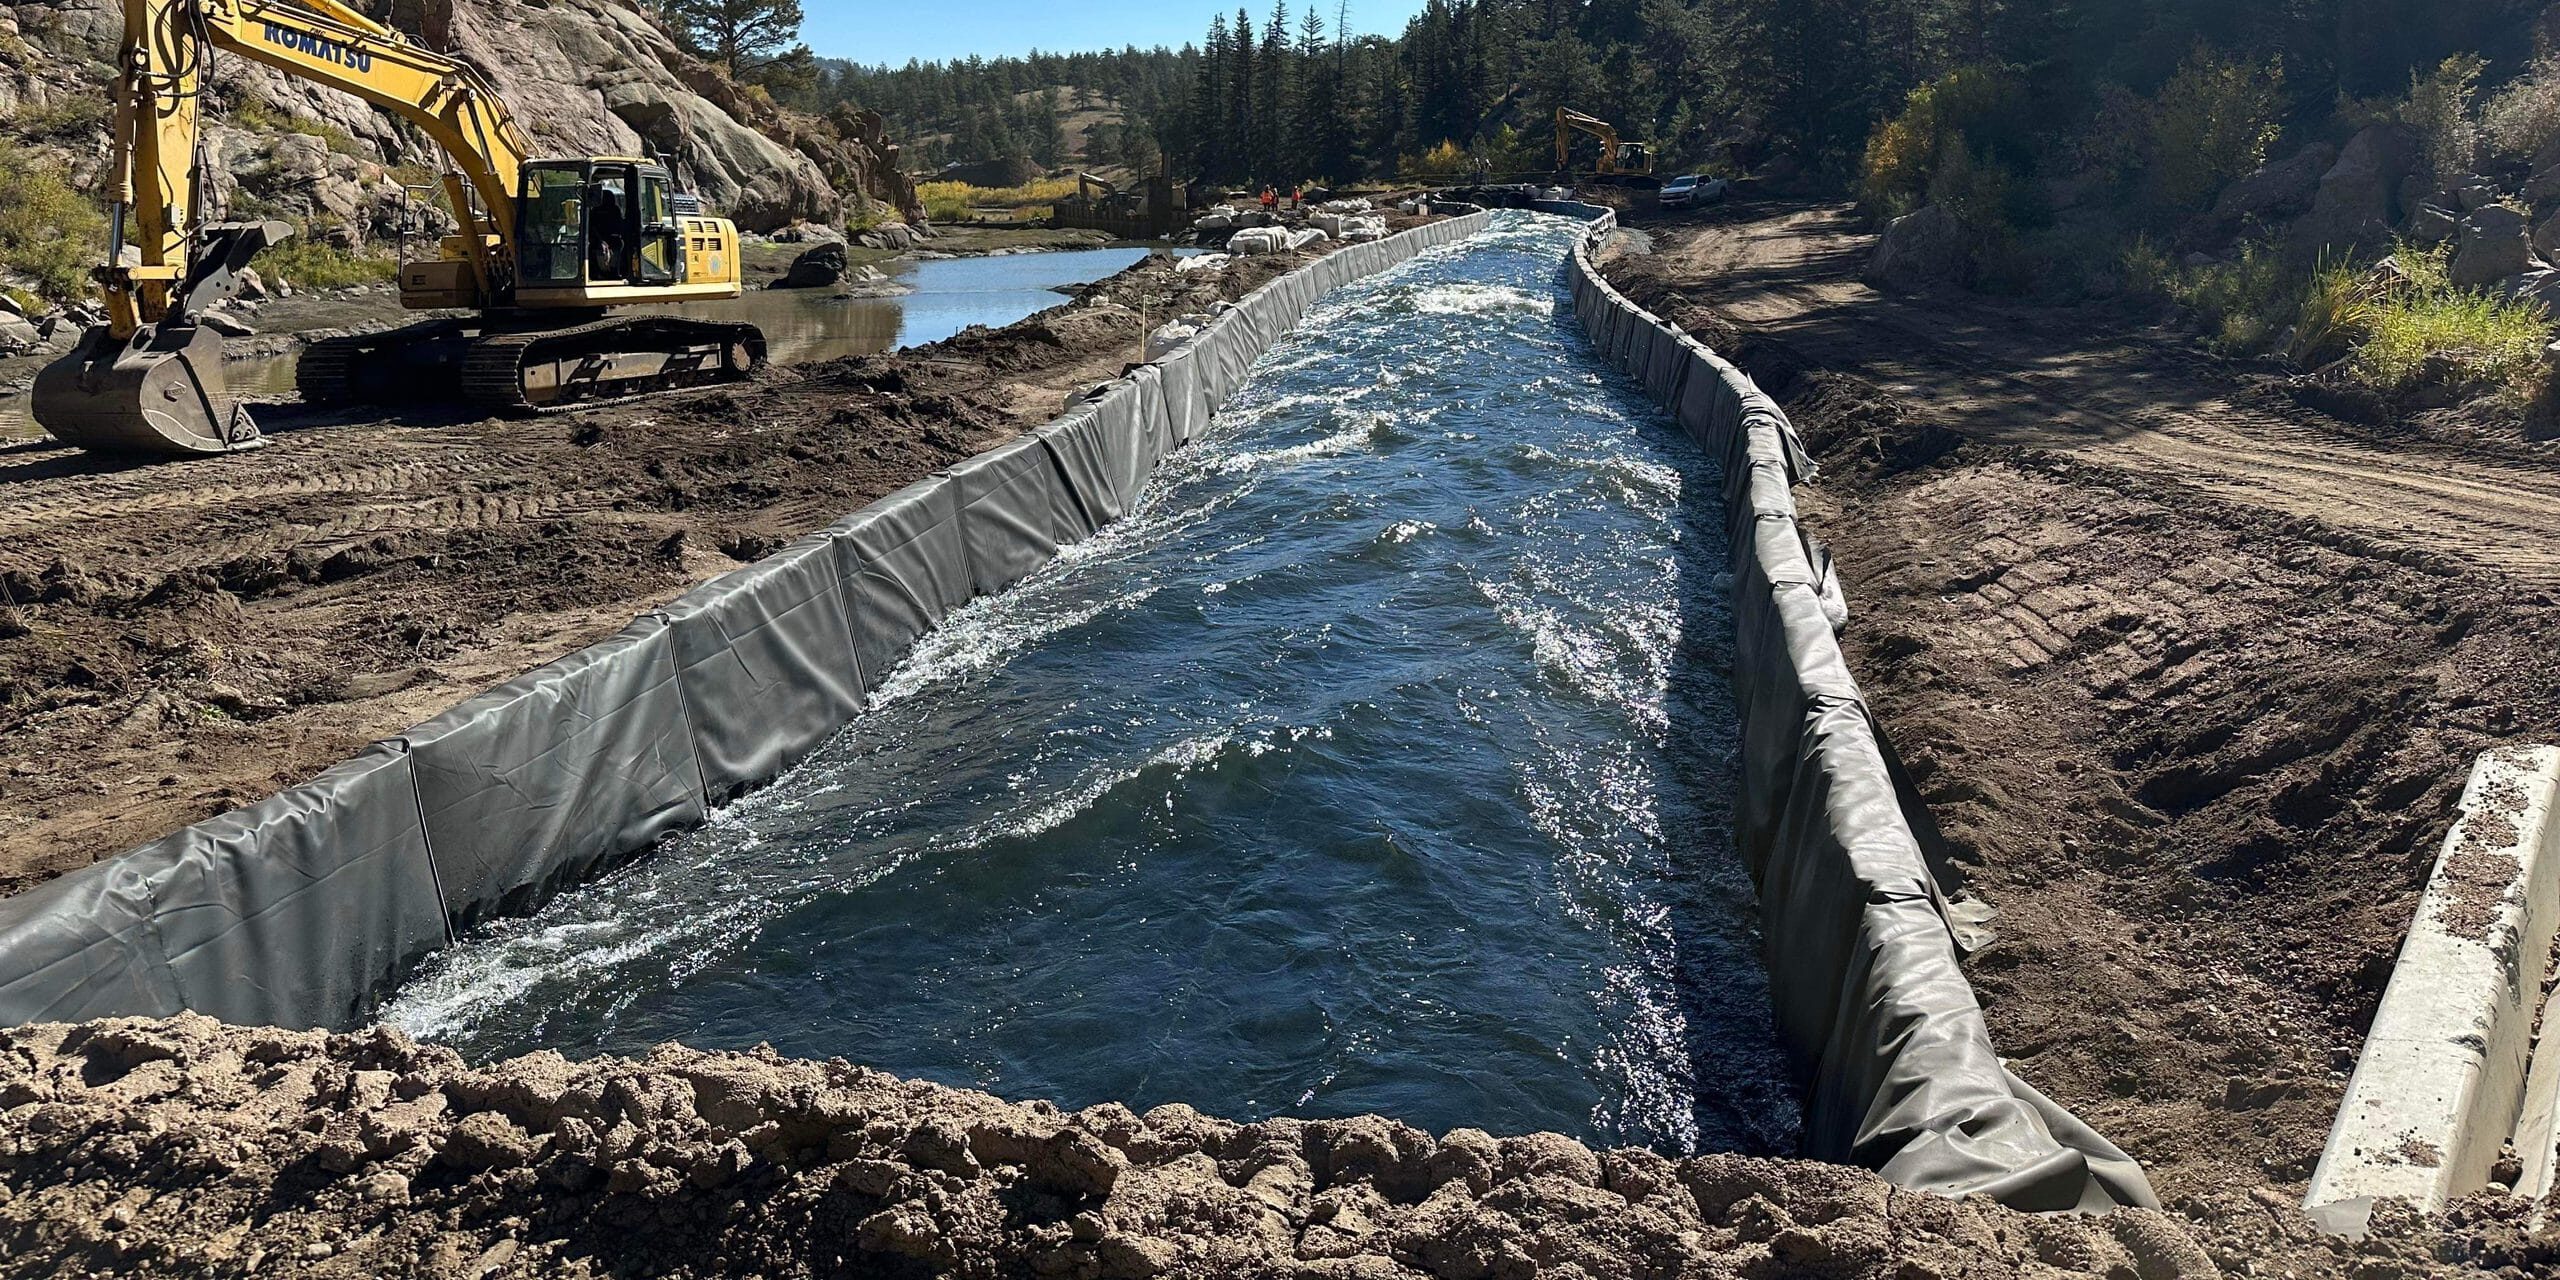
Project Details Project Name: Lake George Dam Removal & Stream Restoration Location: Lake George, Colorado Date of Installation: August 2023 Contractor: FlyWater, Inc. & Naranjo Civil Constructors Salesperson: Mick Pyle, Bowman Construction Supply Application/Solutions: Muscle Wall used for temporary stream diversion The Challenge The Lake George Dam, a 25-foot-tall, low-head concrete diversion structure built in […]
June 11, 2026
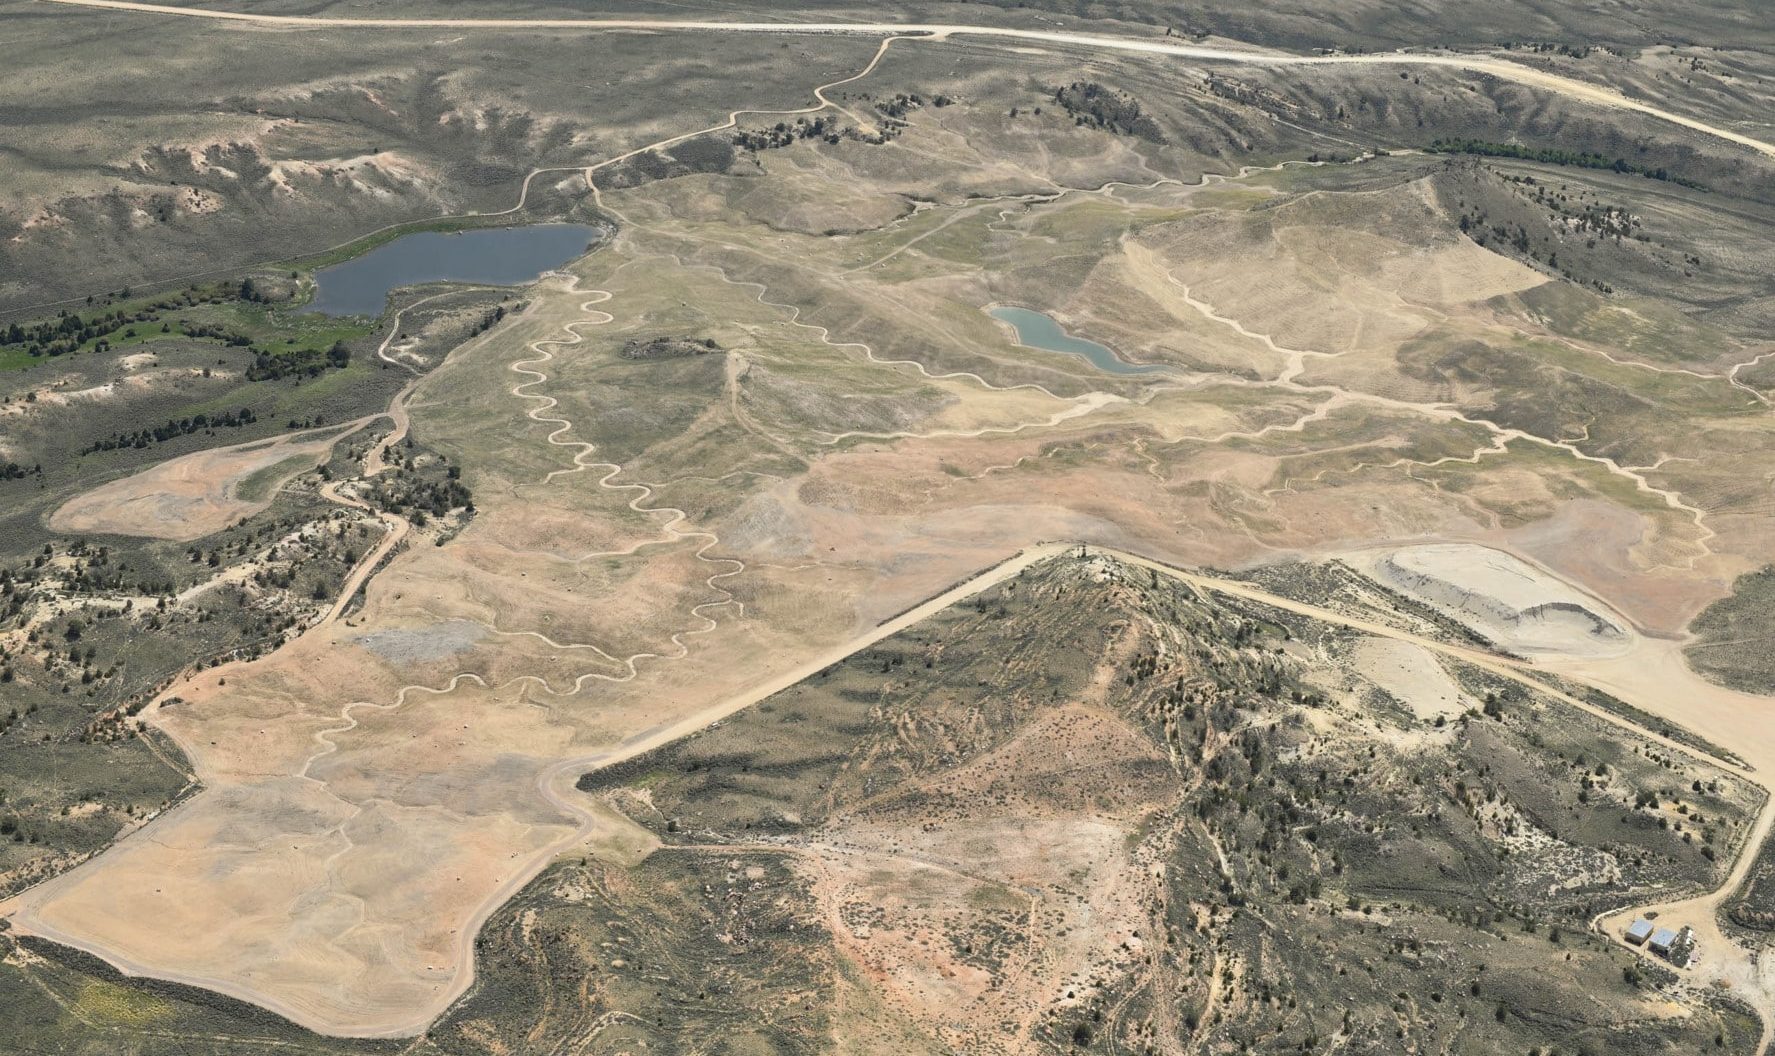
Project Details Project Name: McIntosh Pit Location: Fremont County, WY Date of Installation: Phased Construction 2014-2025 Salesperson: Tom Bowman Engineering Firm: BRS Engineering The Challenge The McIntosh Pit, a former uranium mine site, was a 200-foot-deep pit filled with a groundwater lake walled in by large, stepped banks cut into the rock measuring up to […]
October 6, 2026
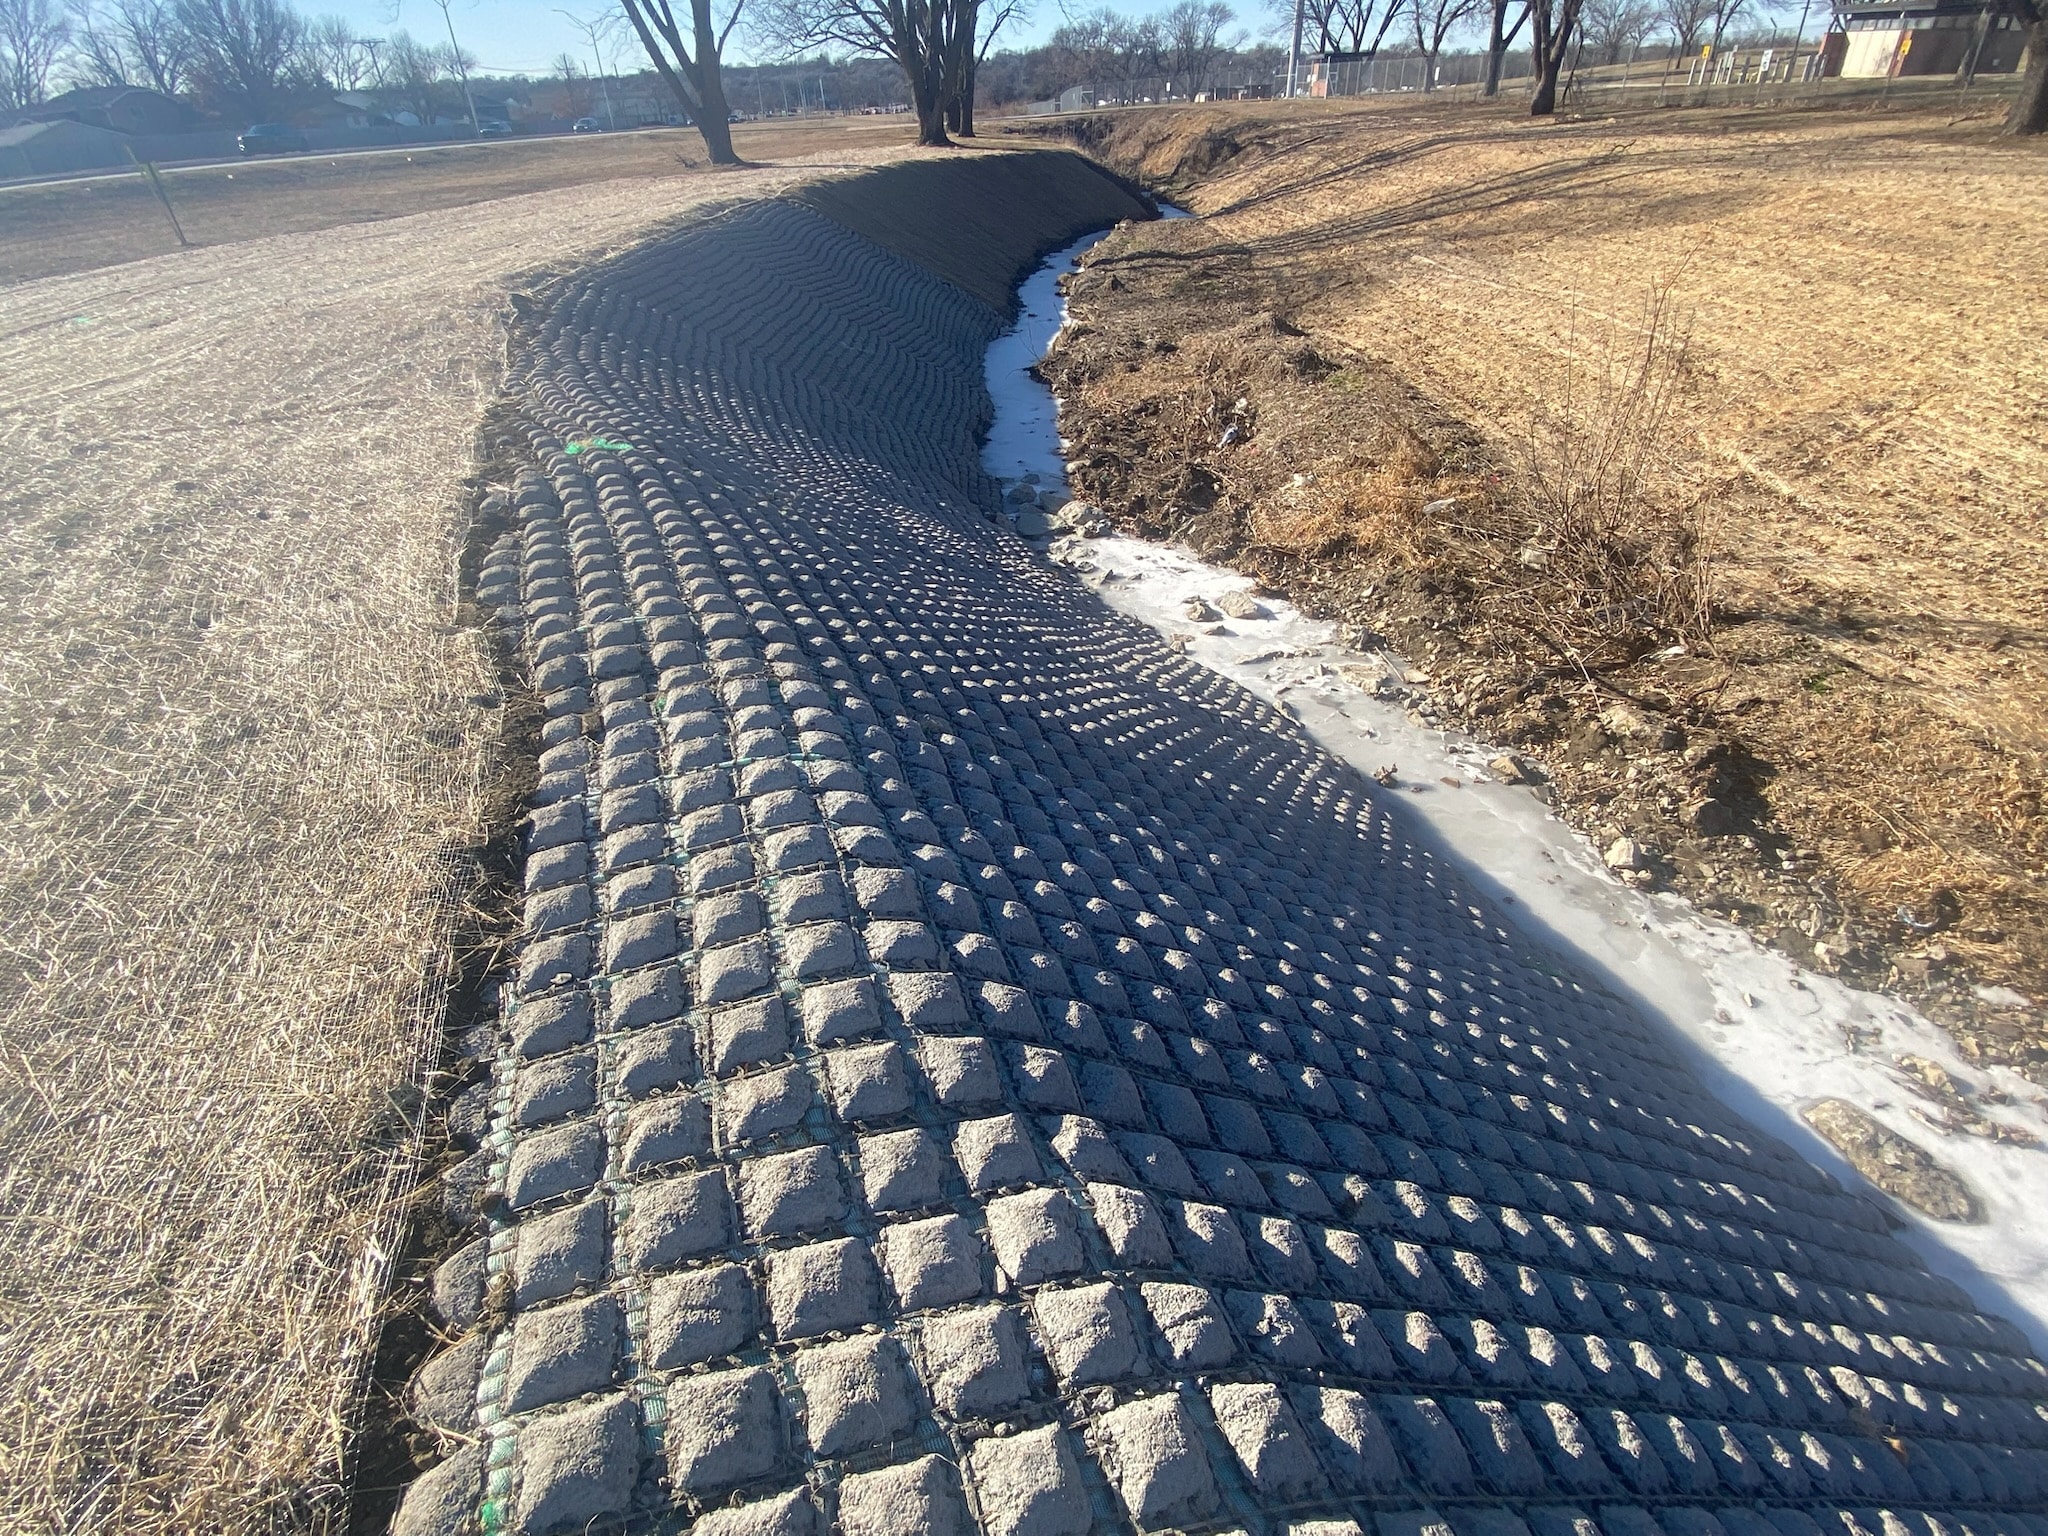
Join us for our upcoming Technical Talks webinar! Attendees will learn about industry topics and site solutions ASP Enterprises, Bowman Construction Supply, Cascade Geosynthetics, and Quick Supply Co. provide and receive a Professional Development Hour Certificate for attending. All registrants will receive a link to watch the webinar recording. Innovative Approaches to Slope & Channel […]






Learn more about Hale Holdings. Our businesses strive to be nimble and powerful customer partners. We have the right resources to quickly solve challenges and to support our customers’ long-term success.